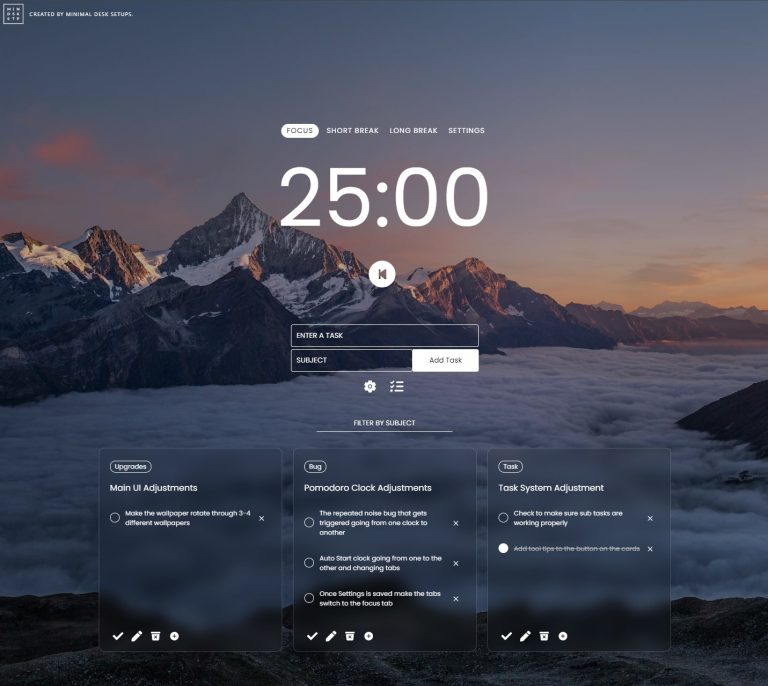
If you’ve made it this far, then it is highly likely you’ve seen our videos on our youtube channel showing off one of our setups. Today, I want to go through something a bit different. I want to show everyone how to improve their desktop setup with rainmeter. We’ve come up with a method for implementing desktop widgets on Windows to create a minimal-styled desktop setup. We also have a more in-depth guide analyzing the different types of interactive wallpapers for your pc through Rainmeter or wallpaper engine, have a look.
If you’re looking for actual items in the desk setup, check out our desk setup gallery page. We also have an arrangement of desk setup guides on how to create the ultimate minimal desk setup. So you can check that out as well.
LINKS YOU’LL NEED TO FOLLOW ALONG
If you’re looking for the TL;DR version, watch the video below and it’ll run you through the whole process.
For this guide, we’re looking to reproduce two types of desktop setups. They shall be denoted as Style 1 and Style 2.
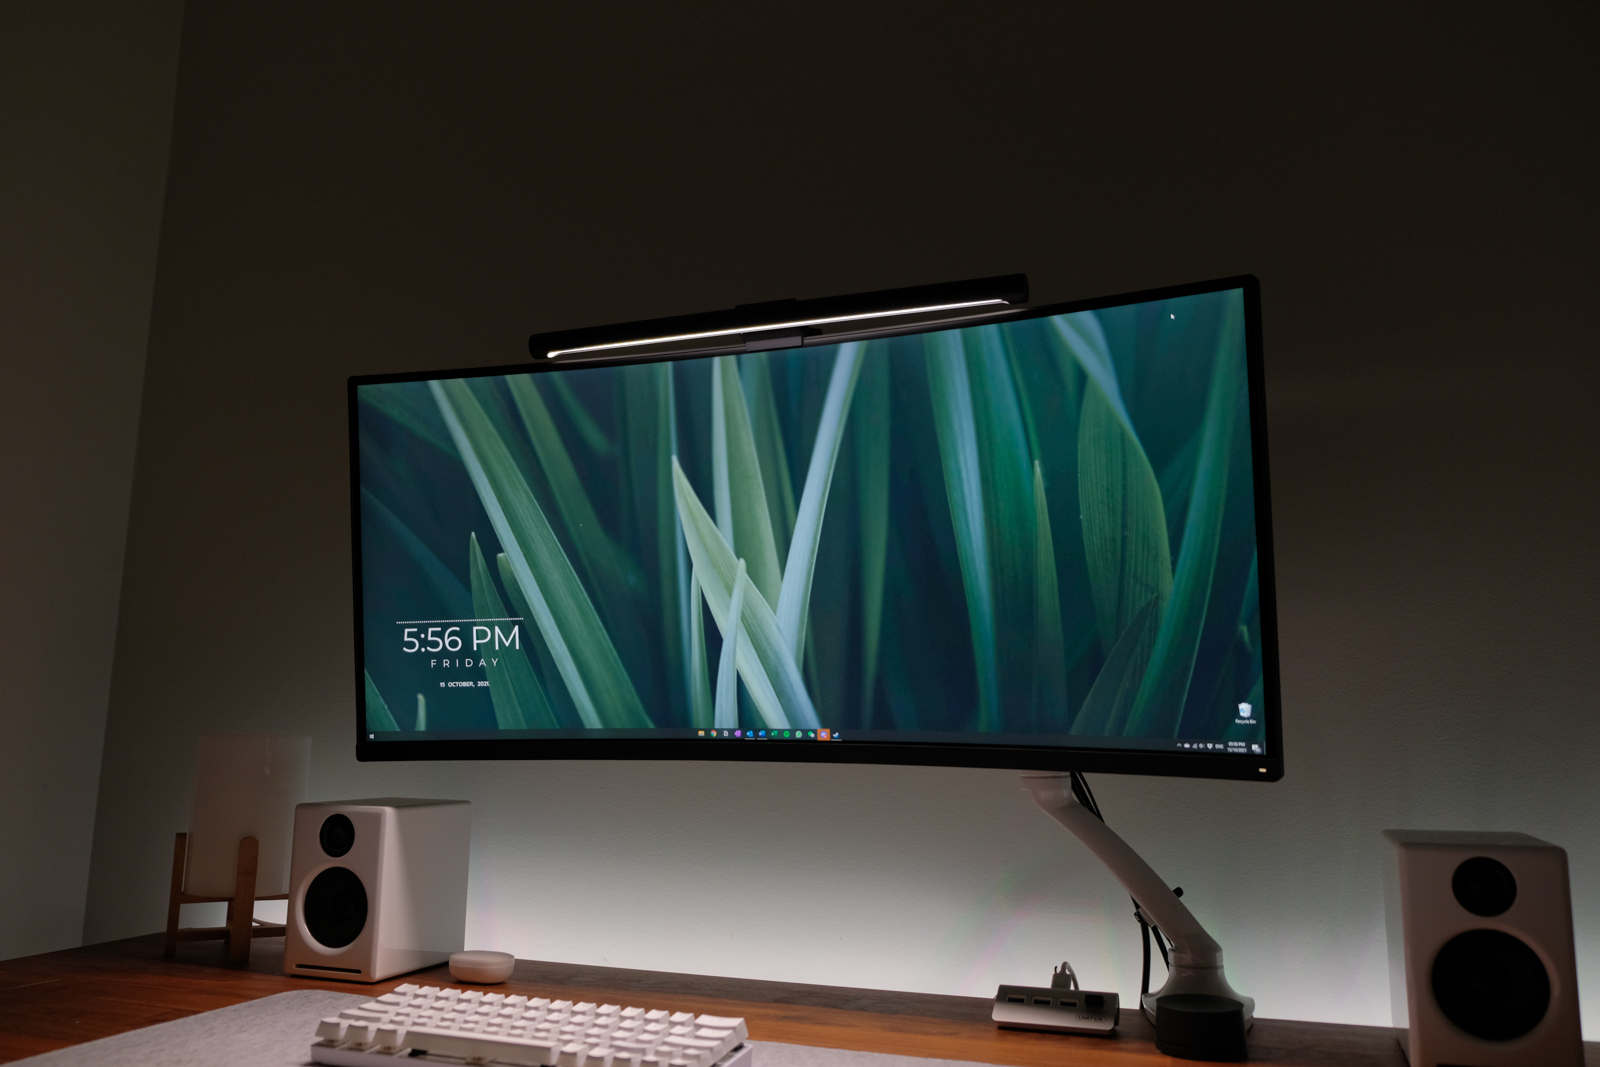
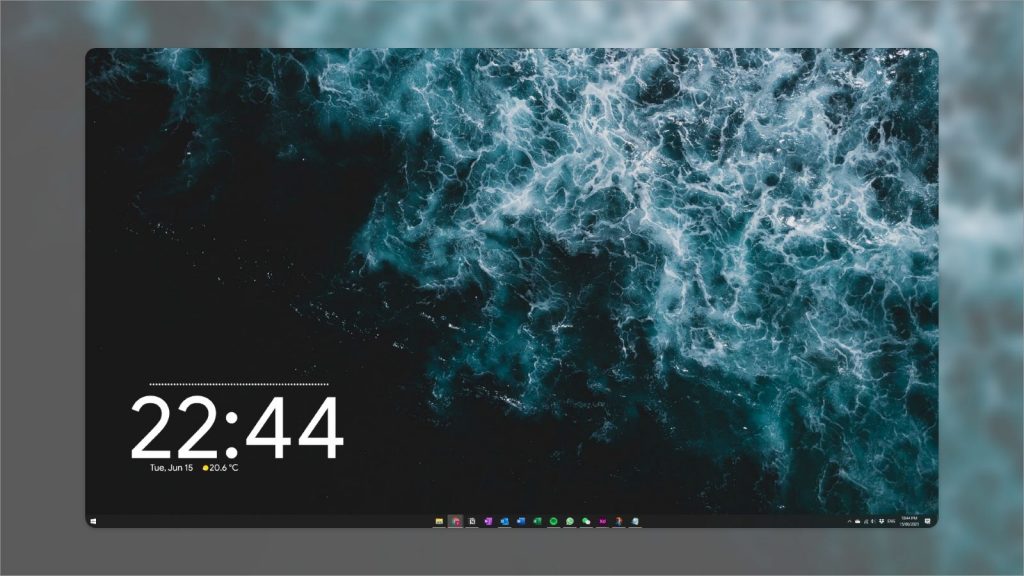
For Style 1: Left Corner Element
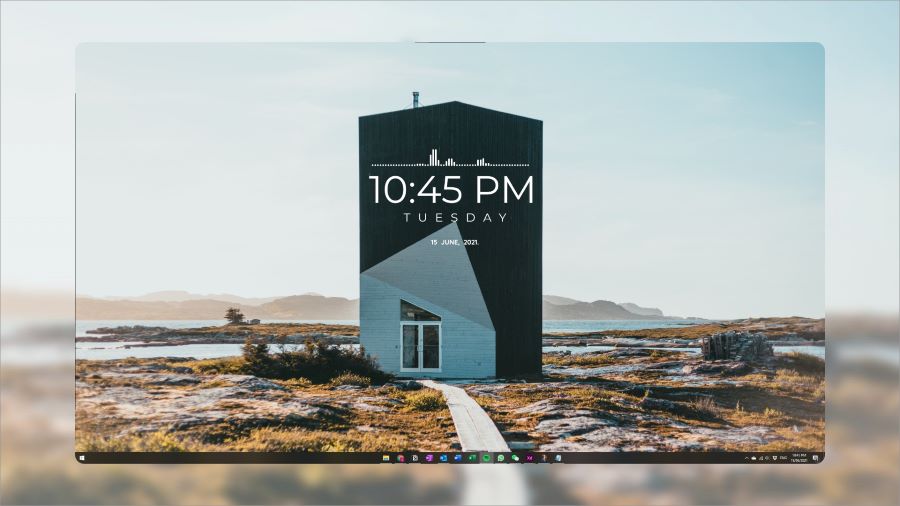
For Style 2: Center Element
Requirements:
- Windows Operating System.
Yes, unfortunately, for those with MAC OSX, this guide won’t be for you; I’m sorry. Stay tuned for another guide based on something similar for Macbooks through the use of Geek Tools.
Anyways, let’s get started. To follow along with this tutorial, you’re going to need the following links: (Click on the items below to go to the link)
Before I begin the tutorial, I want to give a shout to rainmeter for their awesome tool that we will be using to improve our desktop setup, in addition, to all the widget makers on deviant art as follows:
- Simple Android pie clock by Star Lender – View Simple Clock Widget
- Mond by ApexXx-SenSei – View Mond
- Lano Visualiser by Marco Pixel – View Lano Visualiser
Alright, let’s get started.
Step 1: Centering icons on the taskbar
We need to start by preparing the taskbar and centering the Icons, so first right-click on the taskbar and ensure that link is enabled.

Once it is enabled, a links section should pop up on the right side of the taskbar.

Make sure that the taskbar is not locked. Right-click on taskbar ->> Uncheck lock taskbar

Drag the Icons section so that it’s on the other side of the Links, between the start menu and the Links section

Now drag the || to the right side of the links section to position the icons in the centre.

To make the “links” section text go away, make sure the show text and show title are unchecked on the taskbar. (right-click on the taskbar and uncheck show text and show title.

Once that’s done, lock the taskbar.

And then you’re done with the taskbar. At this point, the icons should be centered.
Step 2: Selecting a wallpaper from our ‘Unsplash’ collection
Go to our Unsplash link – click here to go to Unsplash link – and download a wallpaper that you like.
Just a note: There are multiple collections; it depends on which style you want; you can choose to have the rainmeter elements on different sides depending on what your preference is.

Step 3: Download wallpaper in full resolution
When you download the wallpaper, make sure it’s in full size, you can access this option by clicking the drop-down next to the download button.

Step 4: Size the wallpaper to the correct aspect ratio.
Once you have the wallpaper, open it up on the photo editor app by just right click -> Edit with photos and then change the aspect ratio to 16:9 (widescreen) and save it somewhere.

Step 5: Set the wallpaper as your desktop background
This should be fairly self-explanatory. You can right click -> set as desktop background on the cropped image.
Step 6: Install Rainmeter
After you downloaded our zip file from Dropbox through this link, go into the Rainmeter installer folder and install Rainmeter.


You can keep clicking next.
Step 7: Unload default skins.
You will notice a bunch of default widgets after rainmeter loads on your computer; please just right-click and unload them.

Step 8: Install and configure relevant Rainmeter skins.
Go into the “2. Rainmeter skin” folder and double-click the Andriod clock skin to install it.
Also, Double-click the Lano Visualiser skin as well to install it.
Once, installed, edit the Lano visualiser skin settings – and change the visualiser scale to 0.71

Within Visualisation change, the Bar Width and Bar Gap to 8px and 3px, respectively

once completed hit close.
Next, for the Android clock to make sure you select the big clock variant.

Next, right-click the Android clock, and select edit skin.

Go into the configurations folder, and you’ll see three configuration files; depending on what alignment you want copy the content of the text file into the edit skin text file.

Once copied, save the edit skin text file and then hit refresh, and you should see the Android clock and text being left aligned right-aligned.
After that, we need to set the weather coordinates and Weatherbit API key.
Go to Weatherbit and register for an account. Make sure you verify your account as well so that you access your API key.
Once your account is verified, copy the master key into the API section of the edit skin text file.

Into >>

Next, we need to be Lat. and Long. Coordinates of your location. So head to google maps, and type in your address and right-click on it. Click the coordinates to trigger the google maps copy function.

And then Ctrl + V into the latitude section and split the longitude coordinates into the respective section. Make sure you delete the comma after the LAT coordinate.

Hit Save, and then refresh the skin by right-clicking the clock and hitting refresh.

next drag your clock into the right position and the Lano visualiser ontop.

And then you’re done for Style 1!
Steps for Style 2: Mond
Bonus Step – Style 2
Begin by installing MOND from the Rainmeter skin folder

Once installed, go into the configuration files > MOND and install The Montserrat-Regular font file by double-clicking it and then hitting install.

Once complete, right-click on the Mond skin and then click Edit skin.

Paste the content from the MondConfigFile.txt into the edit skin text file. And then save and refresh the skin, and you’re done.
With the MOND skin, you will need to find a wallpaper that suits the centre element placement. So you can check here in our center element collection for a potential wallpaper. Basically, you just need a wallpaper which makes the center element configuration look good.

Thanks for following along; if you liked this tutorial, please share it. We hope to produce more content relating to desktop setups in the future. Thank you.